July 20, 2026
My first attempt at molded chocolate bonbons was, basically, a complete failure. Here is what happened, what went wrong, and what I learned.
The plan
I started with 500 grams of Callebaut 823 milk chocolate, a polycarbonate mold, a digital thermometer, a silicone spatula, a scale, and a stainless-steel chocolate scraper. My room was about 74–75°F, which I already suspected might be too warm.
For the filling, I made a basic chocolate ganache with 100 grams of semisweet or dark chocolate, 75 grams of heavy cream, 10 grams of softened unsalted butter, and a little honey or glucose syrup. The idea was simple: temper the milk chocolate, make the shells, add the ganache, let it set overnight, and cap the bonbons the next morning.
Where things started going wrong
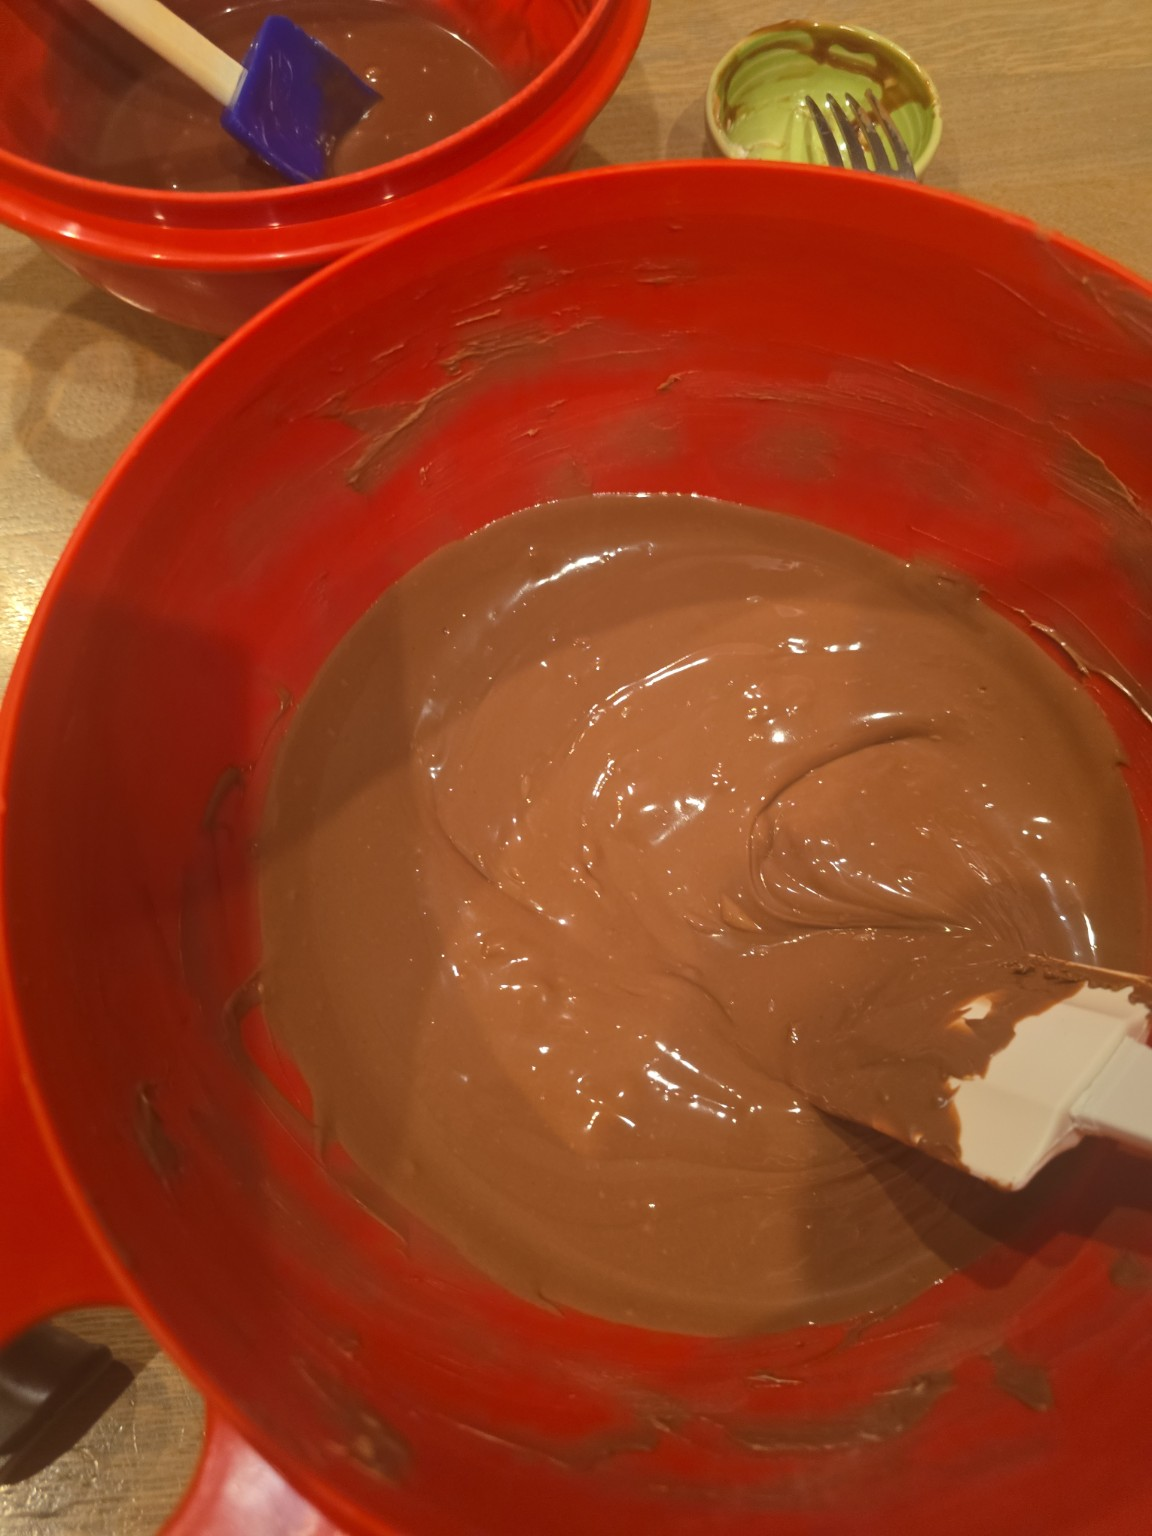
I melted the chocolate and added seed chocolate slowly. Even while holding the temperatures I had been given, the chocolate stayed a little lumpy and became increasingly thick. My temper test eventually looked firmer, so I went ahead and filled the mold.
That was when the trouble became obvious. The chocolate was too thick to drain properly. Instead of flowing out of the cavities and leaving clean, even shells, it clung to the mold like frosting. I filled the mold with too much chocolate, struggled to scrape the surface clean, and ended up with very thick, messy shells.
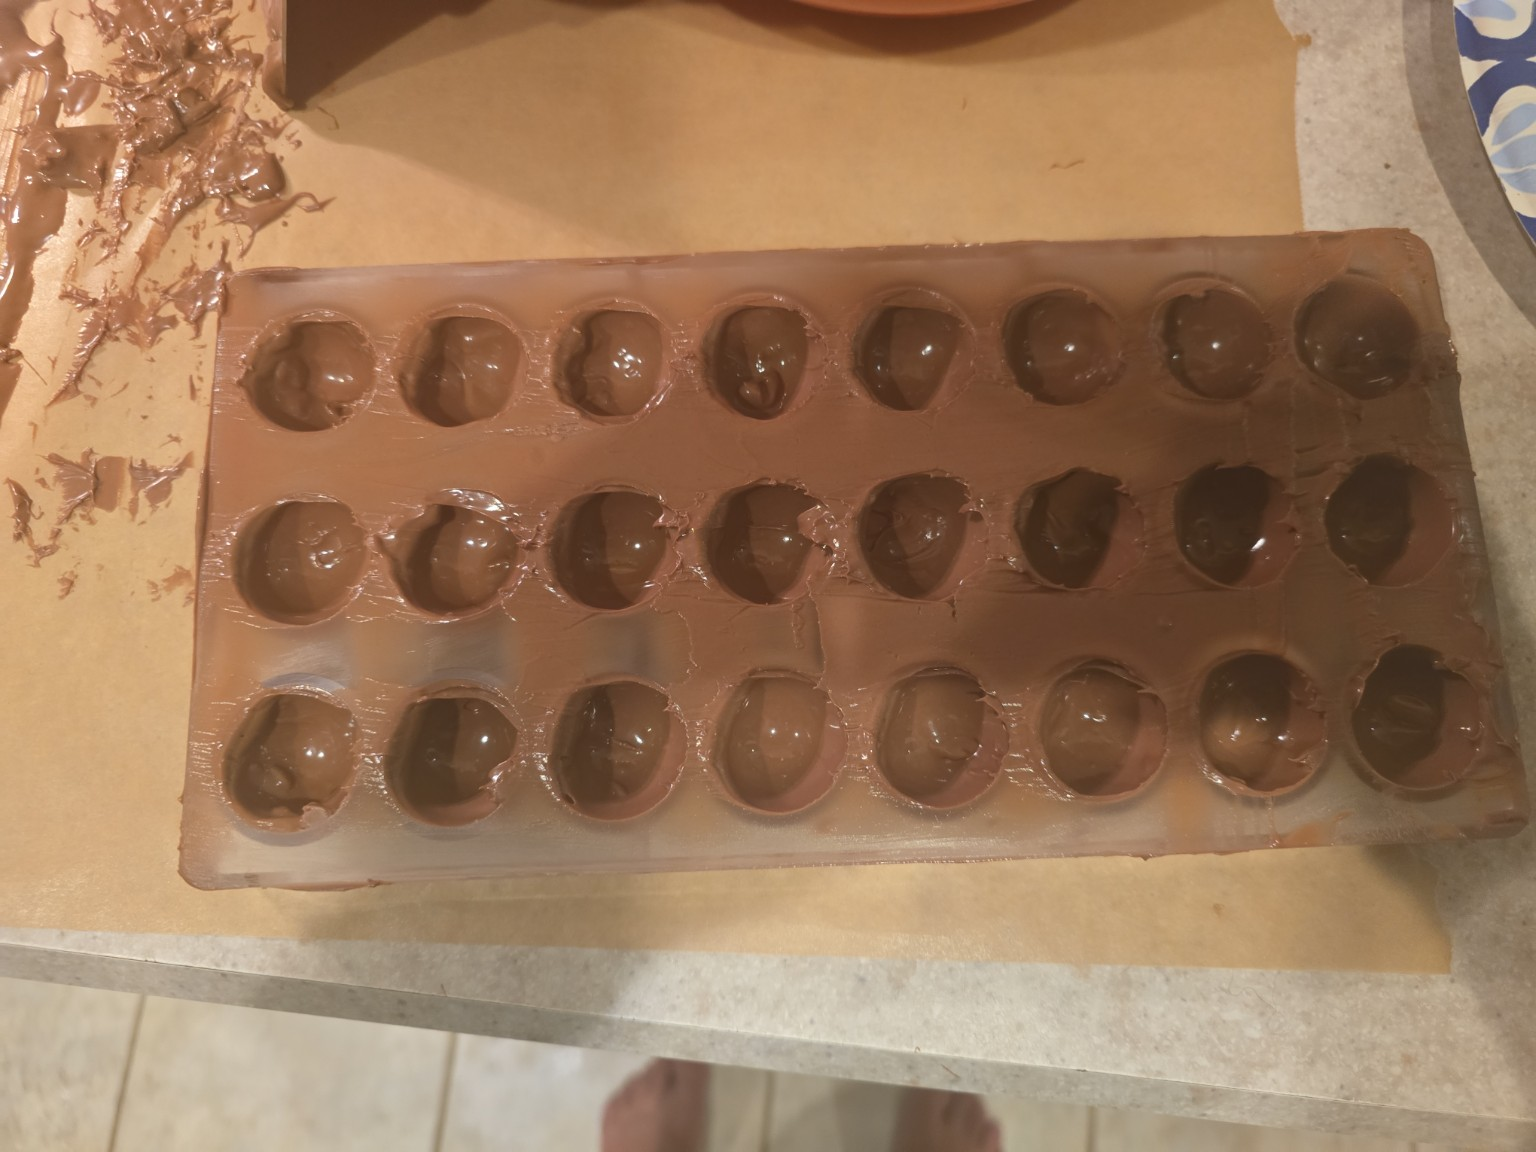
At first I wondered whether my scraper was the problem. It was not. The stainless-steel scraper was fine; the chocolate was already over-crystallized and far too thick for a clean pass.
Filling and capping the mold
I let the shells sit, added the ganache, and waited overnight. The next morning I tempered more chocolate and capped the mold. The backs were uneven, but every cavity was covered. I cooled the room to about 71°F and gave the chocolate time to crystallize.
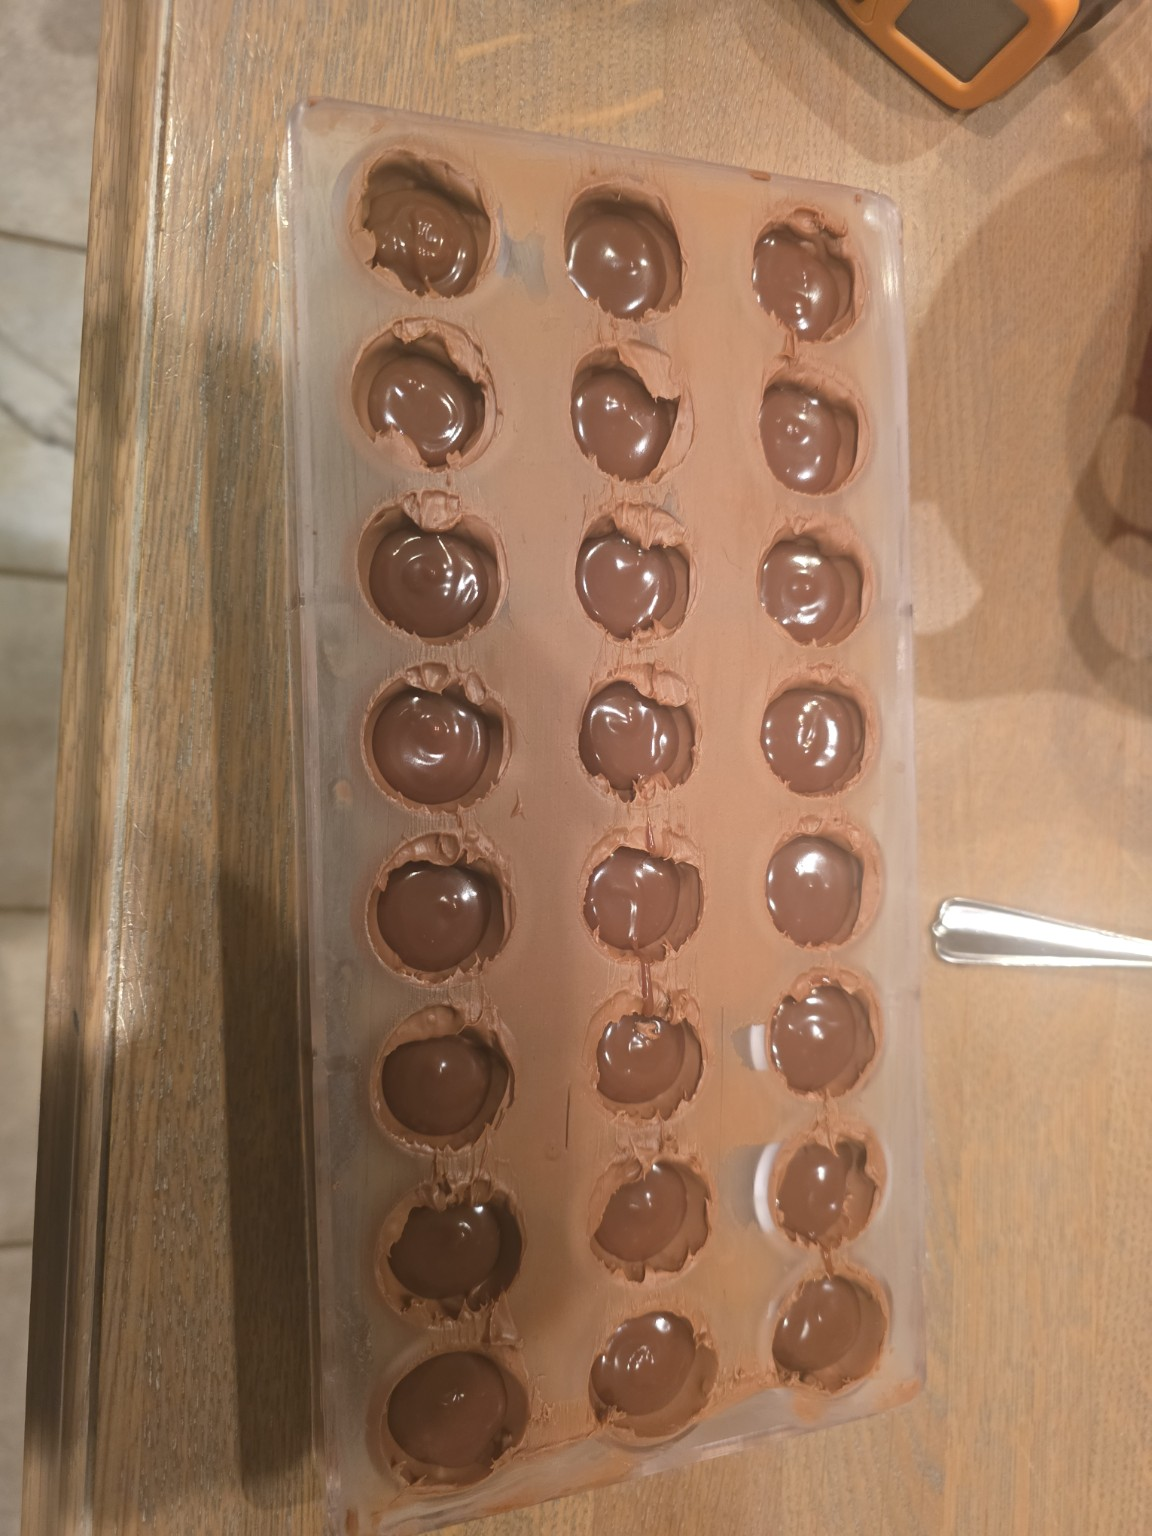
Then came the moment of truth: the chocolates would not release.
After chilling the mold, tapping it, and trying a short freezer cycle, only a few bonbons came out. Several broke. Most stayed stuck. Eventually I stopped before damaging the polycarbonate mold and accepted that the remaining ganache and chocolate would have to be scooped out.
The actual cause
The original shells had not been tempered correctly. I had followed temperature instructions that were wrong for Callebaut 823 milk chocolate. I was initially told to cool only to 84–85°F and later work as high as 88–89°F. That skipped the lower crystallization point and risked melting the stable cocoa-butter crystals needed for the chocolate to contract cleanly from the mold.
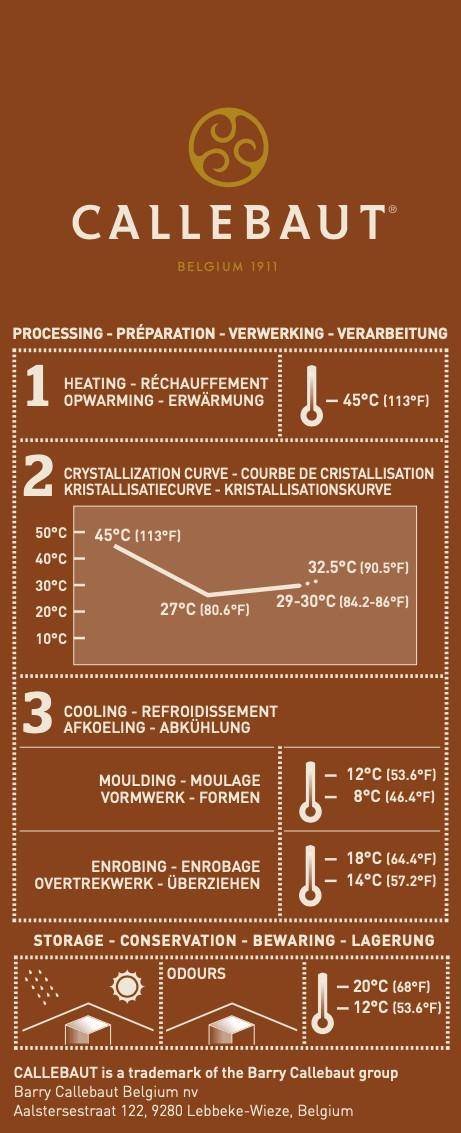
The Callebaut guidance on the package gives this curve:
- Heat to 113°F.
- Cool to 80.6°F.
- Rewarm and work at 84.2–86°F.
- Cool molded chocolate at approximately 53.6–64.4°F.
I had supplied the exact chocolate I was using and relied on AI guidance during the process. The temperatures it gave me were wrong. I followed those instructions, used the chocolate and ganache, and ended up with shells that would not contract from the mold. Calling the batch a failure is fair.
What I learned
- Verify the manufacturer’s tempering curve for the exact chocolate before beginning.
- Milk chocolate needs to reach its proper crystallization point before being rewarmed.
- A warm room makes the process harder; next time I will work in a cooler space.
- Use a very thin temper-test smear instead of a thick patch.
- Start molding as soon as the chocolate is properly tempered and flowing well.
- Keep the mold completely clean, dry, polished, and at the right temperature.
- Use the scraper at roughly a 30–45 degree angle with firm, even pressure and one clean pull.
A handful of bonbons came out intact, but this was not the result I was trying to achieve. Still, the failed batch gave me a clear diagnosis and a much better plan for attempt number two.